In this post I'll describe how I fixed the front rise in my Sculthorpe pants after I finished sewing them.

I originally toiled the Sculthorpe pants in July 2020. They were just wrong. The front was super baggy and the back rise was tight. The thighs were tight. I had a lot of help but it wasn't looking good. Then someone convinced me I had absolutely switched up the side panels. If I just put them on right everything would work out.

So a few months ago in April, I made them again in the size that matched my seated hips measurement. They were horrible. My expression, lol.
Yesterday, I found them under a pile and tried them on. Seems like I've sort of grown into them a bit? But the front rise is still an issue. So I tried pulling up at the front waist and that was a no-go. It made the legs all weird and didn't really solve the problem.
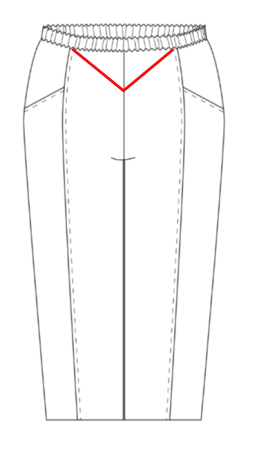
If I pinched out excess about 3.5" down from the waistband. It was fine. The crotch came up to a good place. Back was still ok. Sides hung ok. I could pinch out 1.5 to 2". What I obviously needed to do was the slash and overlap. (can you see below? you cut from the seam allowance on the hip to the center and then overlap)

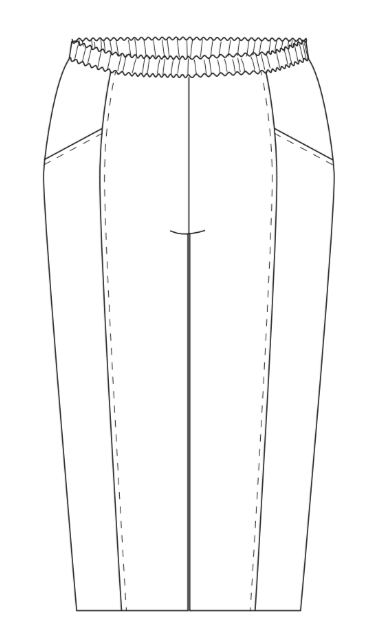
What I did, and it worked, is to pinch out darts from the center tapering to nothing at the panel seams

It was very difficult not to get a pucker on one side, for some reason, but it's reasonably smooth now. It matched better when there was a huge pucker, of course! But I'm satisfied.

While I was sewing, I went ahead and put a buttonhole there at the top with my 4 step setting. I will probably want a drawstring so I can load my pockets down.


Comments
Post a Comment